How to Lay a Gravel Path in a UK Garden: Tools, Base and Step-by-Step Method
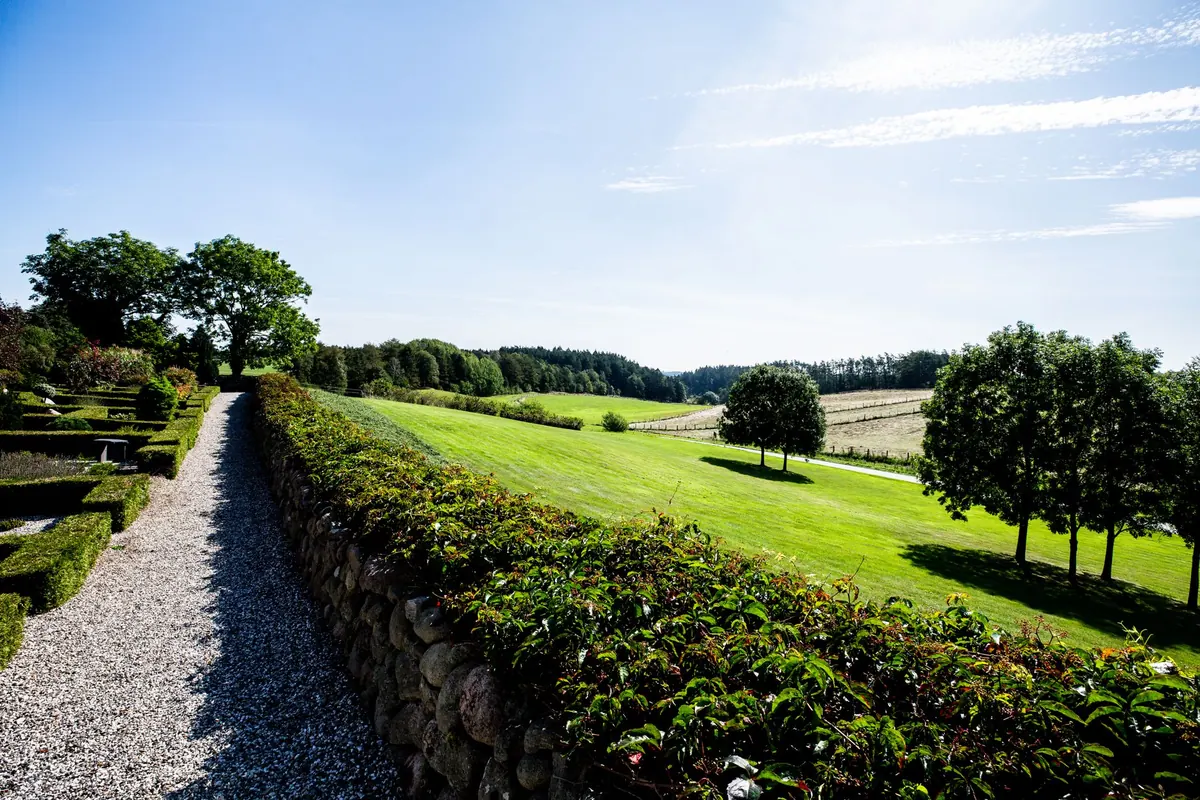
A gravel path is one of the most forgiving projects in the garden. Get the levels roughly right, hold the edges in properly, and you'll have a surface that drains well, suits almost any planting style and costs far less than paving. Get those things wrong and you'll be sweeping stones off the lawn for years. The difference lies almost entirely in the preparation, not in the gravel.
Plan the route before you lift a spade
Walk the line you think you want. A straight run looks formal and is quicker to set out; a gentle curve softens a cottage border but needs flexible edging and more careful work with pegs and string. Lay a garden hose along the ground to test the shape, then mark it with pegs and a line, or a dusting of sand.
Width matters more than people expect. Around 90cm is comfortable for one person walking, while 1.2m lets two people pass or a wheelbarrow turn without tipping. If the path meets a gate, step or patio, work backwards from that fixed point so everything lines up.
Aim for a slight fall — roughly 1cm in every metre — so water runs away from the house, shed or patio rather than pooling in the middle. Never let a path drain towards a building. Before you dig, check what is underground: cables, water pipes, irrigation and drainage are all easy to hit. A free search with the national safe-digging service is a sensible first step, and if anything about buried services is unclear, get advice before you start.
Tools and materials you'll actually need
For a path of a few metres you won't need much, but the right kit saves a day of hard work.
- Spade, edging spade if you have one, and a mattock for roots
- Wheelbarrow and a couple of buckets
- String line, pegs, tape measure, spirit level and a straight timber batten
- Rubber mallet or club hammer
- Rake and a stiff broom
- Plate compactor — hire one rather than buying
- Gloves, goggles when cutting, and a dust mask when handling dry stone
For materials, you'll want a compactable sub-base such as MOT Type 1, a woven weed membrane, edging of your choice, and the gravel itself. Some edgings also need sharp sand or a small amount of mortar to bed them in.
Choosing gravel that stays put
The stone you choose decides how the path feels underfoot and how much tidying it demands.
Angular chippings in the 14–20mm range are the practical choice for a footpath. Their rough faces lock together once compacted, so the surface stays firm and the stones don't wander onto borders or into the house. Cotswold buff, Derbyshire grey, Welsh slate and flint are all widely sold in bulk bags and all work well.
Rounded pea gravel looks lovely and feels pleasant underfoot, but small round stones roll. On any slope they creep downhill, they scatter when a dog runs across the path, and they travel indoors on wet boots. Save it for a flat, well-edged courtyard rather than a sloping route. Self-binding gravels are another option — a blend of fines and chippings that sets firm, almost like concrete. They suit long driveways and formal paths but need a well-built base and careful compaction. Avoid anything over 20mm for a path; it's uncomfortable to walk on and hard to rake level.
Working out how much you need
Measure the length and width in metres, then multiply by the depth in metres to give cubic metres. For a footpath, allow about 100mm of compacted sub-base and 40mm of gravel, deeper if the ground is soft or if anything heavier than a wheelbarrow will use it. Take that figure to your supplier and ask them to convert it — coverage per bulk bag varies with stone size and density, so it's better to let them do the sums.
Excavating and building a firm base
This is the part that decides whether the path lasts more than a couple of seasons.
- Strip the turf and topsoil to the full depth you need — sub-base, gravel and a little allowance for compaction. Stack the turf if you plan to reuse it.
- Firm the subsoil with the plate compactor. If it is soft or heavy clay, lay a geotextile membrane before the sub-base to stop the stone sinking in.
- Spread MOT Type 1 in layers of around 50mm. Compact each layer before adding the next, watering lightly first if it's dusty.
- Check the fall with a spirit level on a straight batten. Sorting mistakes now is far easier than later.
- Give the sub-base a final pass with the compactor so it is firm, even and free of hollows.
Edging keeps the path in bounds
Without a proper edge, gravel ends up in the borders. Timber boards, steel edging, brick setts and stone kerbs all work; choose whatever suits the garden. Set the edging on firm ground rather than loose soil, and check the top is level along its length. Tanalised timber should be bedded on a thin layer of sharp sand or mortar. Steel edging is driven in with a mallet and pinned. For a curved path, brick or flexible steel is easier than rigid timber. The top of the edging should sit roughly level with the finished gravel, or a few millimetres proud, so stones rest against it instead of spilling over.
Membrane on top, then the gravel
Roll out a woven geotextile over the compacted sub-base, overlapping the joins by at least 100mm and running it beneath the edging where you can. It keeps weeds from pushing up through the base and slows the stone working down into it. It won't stop weeds germinating in the gravel itself from seed blown in, so keep a hoe to hand.
Barrow the gravel in, tipping small piles rather than one heap, and work from one end so you aren't treading on finished ground. Rake it out to a consistent 40mm or so, compact it lightly with the plate compactor or by tamping with a length of timber, then top up any low spots and rake level again.
Lay gravel on a wet day if you can. Dust settles, the stone compacts more easily and you'll finish the job before the novelty wears off.
Finishing touches and keeping it tidy
Check that water runs away after the first decent rainfall. Sweep gravel back from the edges every few weeks, top up with the same stone a couple of times a year, and pull weeds while they're small. A stiff broom or leaf blower handles most tidying; a rake restores the surface pattern.
Give the edging a look after the first winter, too. Frost and foot traffic can lift a timber board or loosen a pin, and tapping it back into place now saves a much bigger job later. Sand and grit washed onto adjacent paving should be swept back before it stains. Built properly, a gravel path asks for very little beyond the occasional top-up.
Photo: Rene Terp / Pexels